CodeBot Web Console

The CodeBot web console is where you can sign up for a Parallel Agile (PA) account, login, and manage the current CodeBot project.
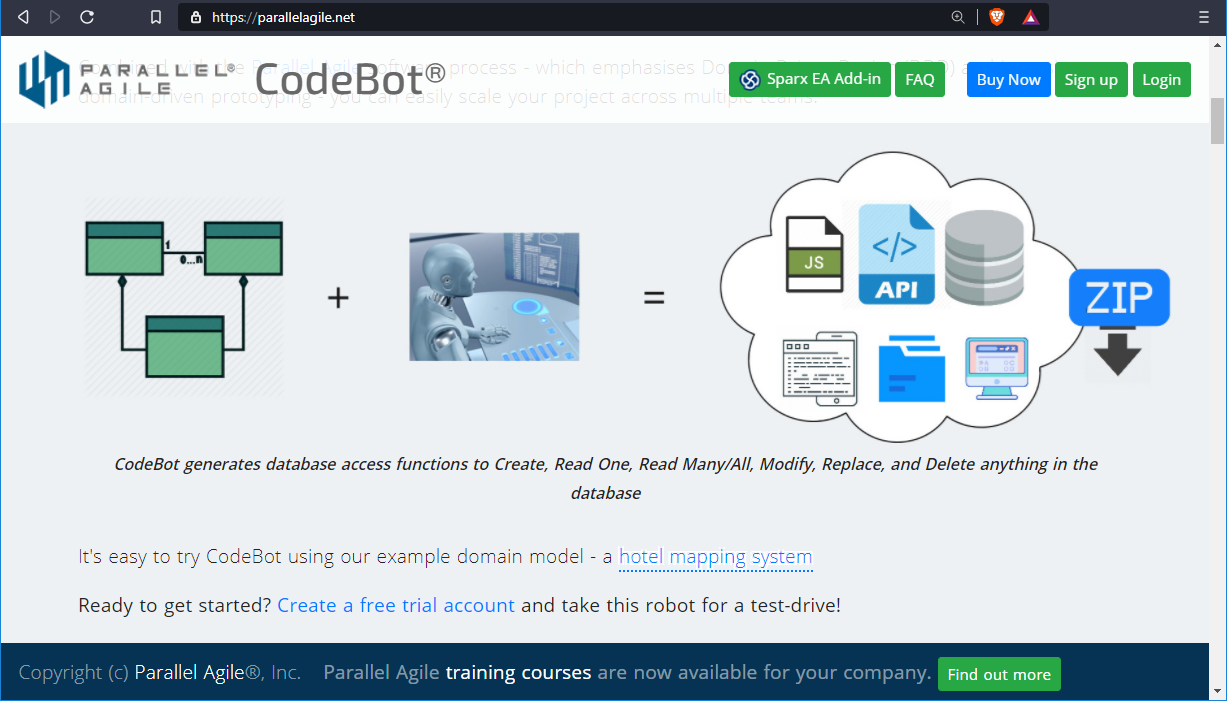
You can try out CodeBot for free, including the cloud-based hosting. To sign up, click the Sign up button (shown top-right in the above screenshot).
Licensed users can create multiple projects - useful for things like deploying to a separate Dev or Test environment, in addition to a Production environment; or for maintaining multiple cloud-hosted versions of a proof-of-concept app.
Hello CodeBot
At this stage, you may want to quickly try out a “hello world” example. We have just such a project at the ready. Follow the Hello CodeBot steps to try it out. The link at the end of that page returns here to resume the tutorial.
Overview of the Web Console

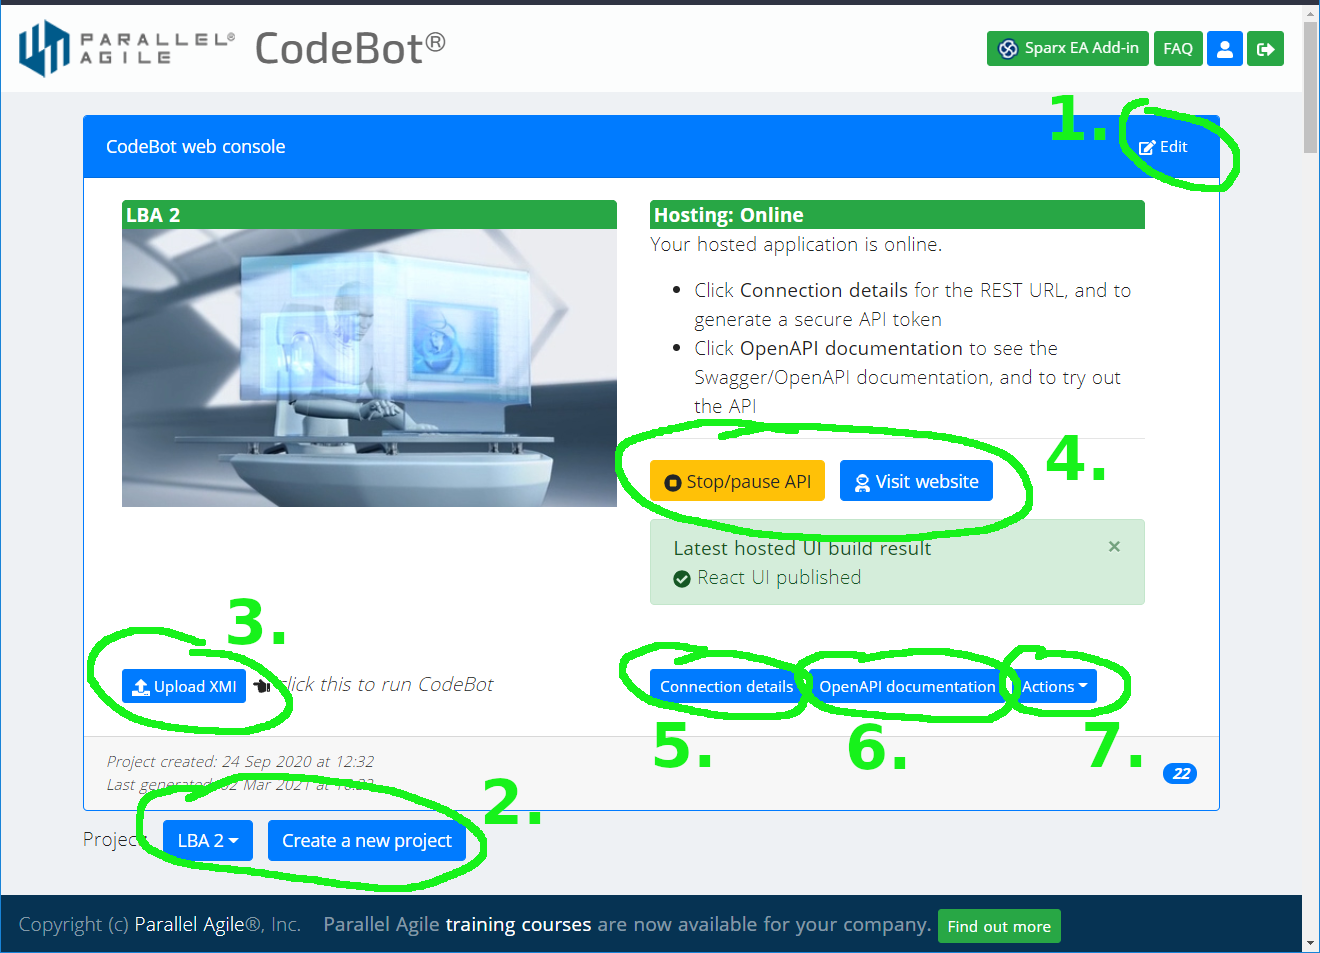
The numbered items are as follows:
- Click the
Editbutton to view or edit the currently selected project - Use the drop-down to switch to a different project; or click the button to create a new project
- As an alternative to running CodeBot via the Enterprise Architect add-in, this option allows you to run CodeBot with an already-exported model file
- If your project has been generated and deployed to our hosting service, you can start or stop the REST API here, check the latest React UI build progress, or click to visit the generated website. The website is set up to connect with the generated REST API, which in turn connects to a hosted, private MongoDB database.
- If we’re hosting your project, click
Connection detailsto find the URL for your REST API, along with a token that must be included in the header of each REST request. - Click
OpenAPI documentationto see the generated Swagger docs for your hosted API. The docs include aTry it nowbutton for each API endpoint. This connects to your hosted API, and can be used to add, read, update, or delete the hosted data. - The
Actionsdrop-down is kind of a “danger zone”. From here you can completely delete the current project, or erase all of its hosted data.
Edit project details
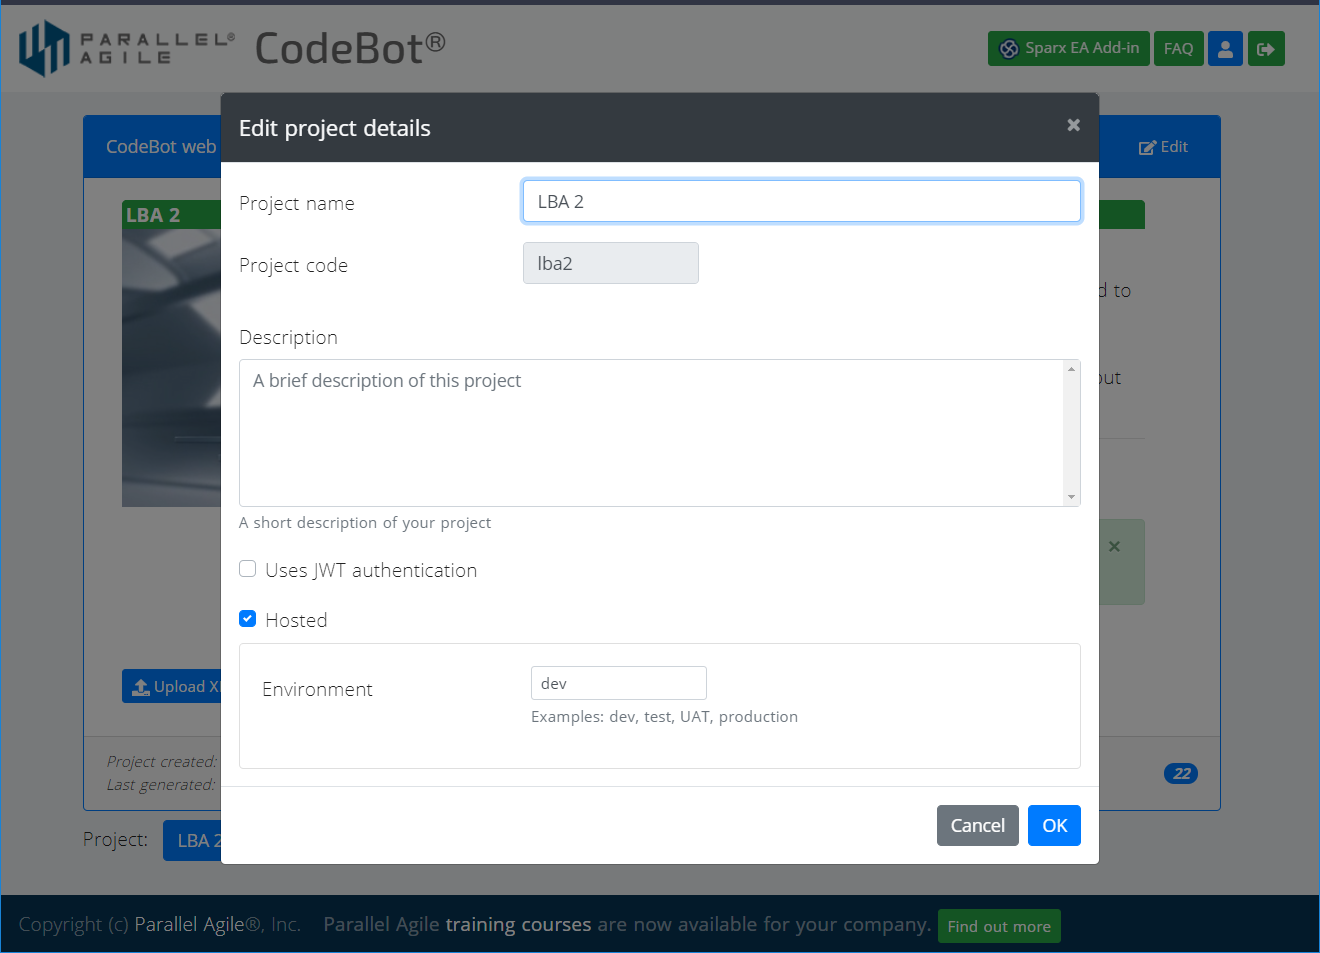
Click the button at the top-right of the web console to edit the current project:

Here you can change the project name, description and other settings.
As you can see, the project code (“lba2” in the screenshot) is greyed-out. This is to discourage changing it, as doing so affects the generated REST API endpoints. The project code is also used in the hosted API and React website; so any inbound links or bookmarks would need to be updated. It’s also used elsewhere, e.g. generated Java package names.
However, there are cases where you might want to change it, e.g. if you’re using the “default” project, you might want to change the project code to something besides “default”.
Simply double-click the project code text field to make it editable.
The project name and description are a bit safer to change, though! They’re also used in the generated output - they appear in project documentation such as README files and the Swagger/OpenAPI docs.
Further down, there’s a checkbox for switching on JWT authentication. This takes effect the next time the project is generated, i.e. not straightaway. As soon as authentication is activated, the API is effectively locked-down so that only registered users can access it. (These are users of your own generated application, not CodeBot users). Additionally, REST endpoints are now restricted by default, and must be selectively opened up by creating and assigning roles.
Finally, the Hosted checkbox defines whether or not the project should be hosted by us the next time CodeBot is run. Again, this setting doesn’t take effect straightaway, but instead is used to determine if CodeBot should deploy the new app to our hosting service as the last step during code generation.
> Next: Installing Enterprise Architect and the Parallel Agile EA add-in